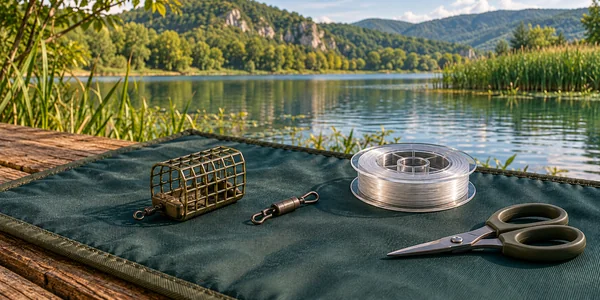
How does method differ from a cage feeder?
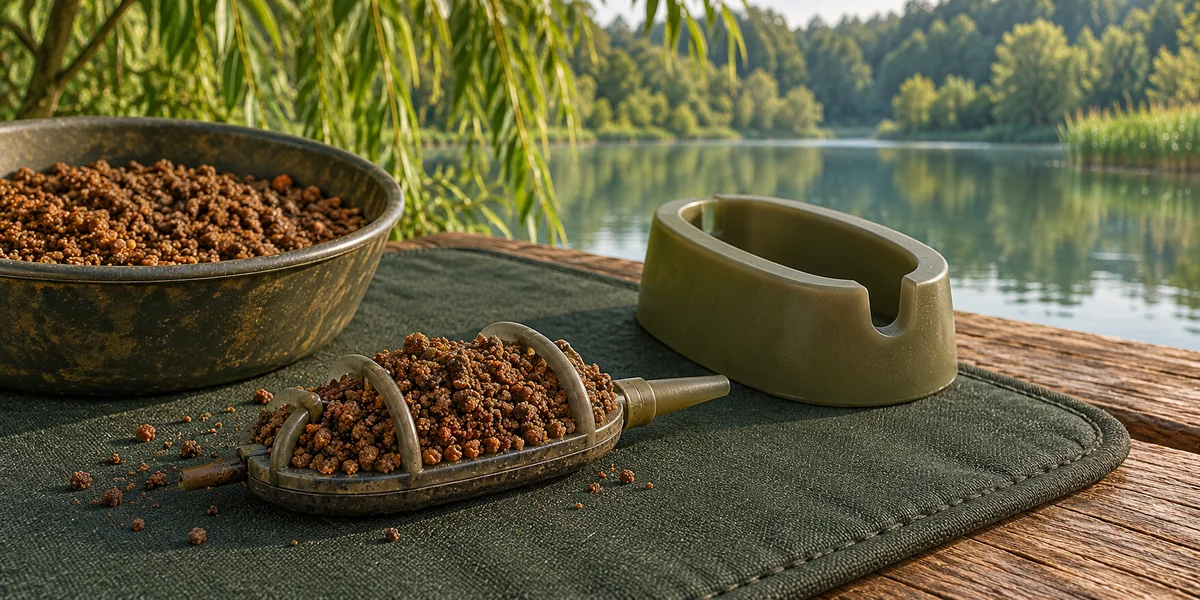
A method feeder carries a compressed portion of feed on its body, close to a short hooklength and bait. A cage feeder holds food in a basket and can use a different hooklength layout. Choose the system before assembling the tackle. Here we use an inline method feeder, with the main line passing through it.
Prepare the feeder, its matching connector and a suitable mould. Elasticated versions also exist, but their parts and assembly differ from this example. When buying a kit, check how the hooklength attaches and how the connection releases.
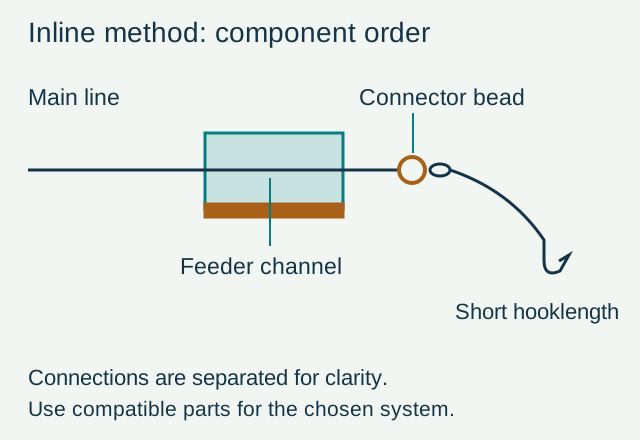
The inline component sequence
Guru’s demonstration runs the main line through the feeder body, then uses a connector bead and swivel to attach a short hooklength. In that version, a Palomar knot secures the swivel and the bead covers the intended connection. Follow the procedure for that particular connector; do not add another stop or force an arbitrary larger swivel into it.
Guru uses a ready-tied hooklength of about ten centimetres in this example. Close the connection properly and check the hooklength for damage. If the bait sits on a hair, band or another holder, check that it fits securely and leaves the hook point clear.
Prepare feed before using the mould
A mould shapes a repeatable portion; it cannot correct feed that is too dry or wet. Prepare a small quantity, allow water absorption and check that it stays on the feeder without excessive compression. Crumb groundbait and pellets do not necessarily require the same hydration procedure.
Guru’s example for 2 mm micro pellets uses roughly two minutes submerged, followed by draining and around half an hour resting. This is not a rule for every pellet size, formulation or brand. Instructions for the chosen product and a check of its actual behaviour matter more than copying that timing automatically.
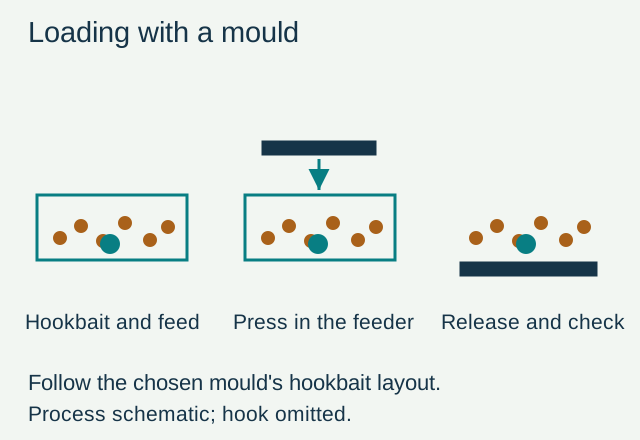
Load and check before casting
- Arrange feed and hookbait in a compatible mould according to its instructions. Loading order can differ between mould designs.
- Position the hooklength without wrapping it around the feeder body or channel.
- Press the feeder into the prepared feed and release it using the mould’s intended mechanism.
- Check that the portion holds together and the hook or bait holder is not tangled.
- Test one prepared portion in a shallow container of water. Observe feed leaving the compressed block; do not prescribe one release time for every mixture.
More pressure is not automatically better. If keeping the feed on requires constant hard compression, revisit its preparation. If it forms a hard block that remains unchanged, do not assume fish will solve the problem. The groundbait guide explains small, comparable preparation trials.
Decide what actually needs changing
Separate a presentation problem from an absence of bites. Feed falling off during retrieval does not reveal exactly when it detached underwater. A tangled hooklength tells you to inspect the assembly and cast first. An intact arrangement without bites does not prove that more feed or stronger flavour is needed.
When changing feed or hookbait, keep casting to the same spot so the difference is easier to judge. Note what you wetted, how long it rested and whether the portion released cleanly from the mould. That gives you a useful starting point next time.