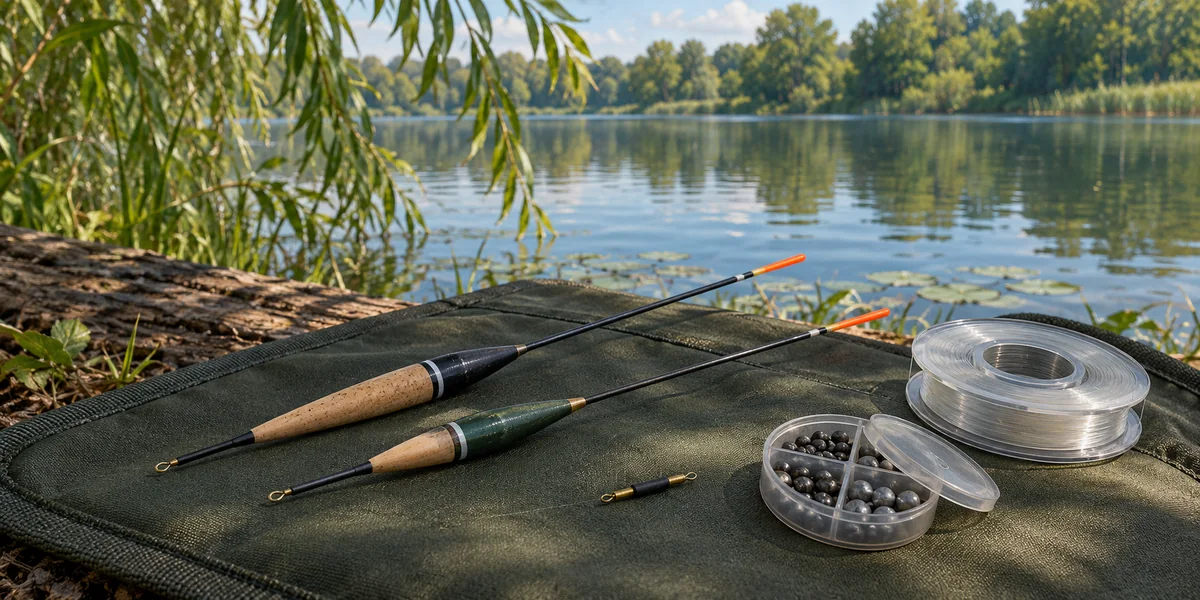
What does fixed float mean?
A fixed float stays at the chosen position on the line while you fish. You move its attachment to change the fishing depth. A slider differs because line runs through its connection until it reaches a stop. Fixed therefore describes the arrangement, not one particular float shape.
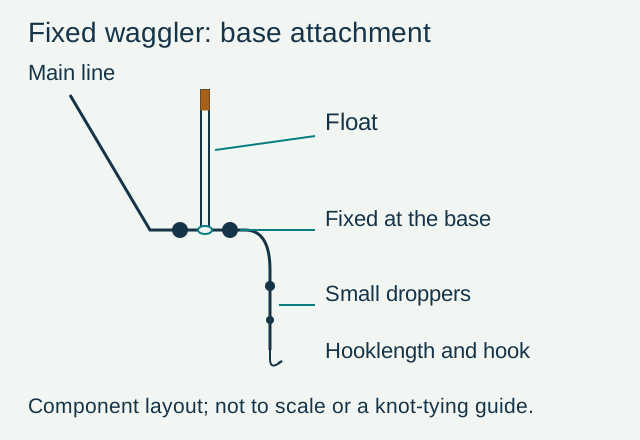
Start with an unloaded waggler on a rod and reel. It attaches at the bottom only. Most of the shot sits beside that attachment, with a few smaller droppers farther towards the hook. A whip without a reel needs a different arrangement; this rig is intended for casting with a reel.
Choose one compatible arrangement
Prepare a rod and reel suitable for the selected float, line, an appropriate base attachment or eye, split shot and a hooklength. Read your float’s instructions first: a loaded model already carries part of the required weight. It does not need the same added loading as a similarly sized unloaded float.
Start on calmer, accessible water at a distance where the tip is clearly visible. Tackle suited to the margins is not automatically appropriate for strong river flow or long range. Following the float and repeating a tidy cast matter more than having an exceptionally fine tip you cannot see from your actual swim.
How to set up a fixed-float rig
- Fit the base attachment to the main line according to its instructions. Check that the float can pivot freely at its bottom attachment during casting.
- Place the locking shot beside that attachment. In this version they provide most of the loading, maintaining the setting and loading the float appropriately.
- Arrange smaller droppers farther towards the hooklength. Keep the layout simple enough to inspect after a tangle.
- Attach a checked hooklength and inspect the line, particularly where shot have been pinched on.
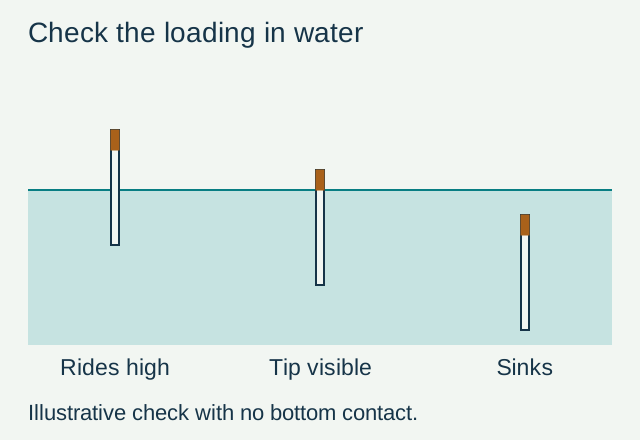
- Test in sufficiently deep water without bottom contact, then add or remove fine loading until the tip remains clearly visible with the body submerged.
Do not close shot with your teeth. Use an appropriate tool without crushing the line. Inspect it after moving shot and replace damaged sections. After the first casts, check that the shot stays in place and the hooklength comes back tidy.
Check loading before measuring depth
If the float sinks during a test without bottom contact, examine the loading and float condition. If it rides very high, adjust it. Once it behaves correctly in open water, proceed to measuring depth with a plummet. Otherwise it is easy to confuse incorrect loading with an incorrect depth setting.
For the first casts, keep the space behind you clear, lower the tackle under control and examine the hooklength on retrieval. If it repeatedly returns wrapped, change one factor: the way the rig lands, shot positions or the hooklength. Adding components does not necessarily cure tangles. When the water is deeper than a fixed rig can conveniently be cast, the next step is a sliding float.